Many homeowners desire to paint their home interior, but are unsure of the steps and techniques needed to paint a room. ALLBRiGHT 1-800-PAINTING Painting, as an experienced painting contractor, is happy to offer some friendly pointers for achieving pleasing results.
The first step, protecting floors and furniture, is covered in this previous blog post. The next thing to do is to prepare the walls themselves. This stage of preparation is often overlooked by hasty homeowners and budget painting contractors, but a truly professional painter will tell you that surface preparation is one of the most important keys to lasting, beautiful results.
If your current paint has any glossiness to it, the sheen will have to be removed for the new paint to adhere to it effectively. This can be done with a light grade of sandpaper. Walls should also be washed prior to painting to remove any surface contaminants that might show through or interfere with paint bonding. A more efficient option might be to scrub the walls with a mild mixture of TSP and water. This will remove the sheen and clean the surface effectively.
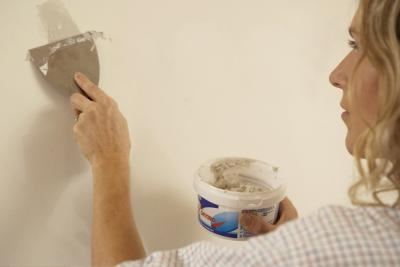
The next step is to restore a smooth surface. Look closely from a side-angle to see if there are any spots that stick up. Old tape is a common culprit, as well as spatters of paint or “popcorn” from the ceiling installation. Use sandpaper or a putty knife to level off or remove any protrusions. After that, examine the wall for dents, cracks, nail holes and gouges. Use the putty knife to fill the holes with a light-weight spackle. Don’t overfill the dents, but use a smooth stroke to make a flat surface straight across. Allow it to dry. Once it is dry, use fine sandpaper to smooth the spot. If the spackle has shrunk or cracked, repeat the process to get a smooth surface.
The final step is to tape off the edges where you will have different colors, or where you are not painting: around door and window frames, baseboards, ceilings or crown moldings. See this post for more instructions on taping prior to painting.
Use a brush or roller to put a smooth little dab of paint on each spot where you used spackle. This will act as a primer so that the porous spackle does not soak in too much paint and show through.
Now you are ready to begin painting! Give the cans a good stir and watch your walls come alive!
ALLBRiGHT 1-800-PAINTING Painting serves the Los Angeles region as a premium painting contractor. If you are normally a do-it-yourselfer, but you have a specific project that you want to turn out truly spectacular, contact us for a free project consultation and estimate.
